
Mastering Artwork for Large Format Printing: The Professional’s Guide to File Setup
In large format printing, the margin for error is physically larger. A minor oversight in a standard A4 flyer becomes a glaring issue when scaled up to a 3-meter retail display. For designers, mastering the nuances of artwork for large format printing is the key to ensuring that what you see on your screen is exactly what arrives at the store.
At BPD Group, we use a "concept to completion" workflow. To help you hit the mark every time, here is our definitive guide to professional file setup.
1. Resolution: The "Viewing Distance" Rule
While 300 DPI is the gold standard for small format, large format often follows different rules.
Close-up Displays: For window graphics or indoor POS that customers see up close, aim for 150-300 DPI at full size.
Distance Signage: For outdoor banners or high-level signage, you can often drop to 72-100 DPI because the human eye cannot perceive the fine detail from a distance.
Pro Tip: Always check your raster images at 100% scale before exporting to catch any pixelation early.
2. Setting Up Your Canvas & Bleed
Large format often involves complex finishing, such as CAD cutting on our Esko Kongsberg tables (shown below) or die-cutting via the Young Shin SA2100.
Bleed Requirements: Most large format jobs require a minimum of 5mm–10mm bleed. This accounts for the slight movement during high-speed cutting.
Safe Zone: Keep critical text and logos at least 10mm–20mm inside the trim line to ensure they aren't lost in frames or during the mounting process.
3. Mastering Color Consistency
Achieving brand-perfect color across different materials—from wood and metal to vinyl—is a science.
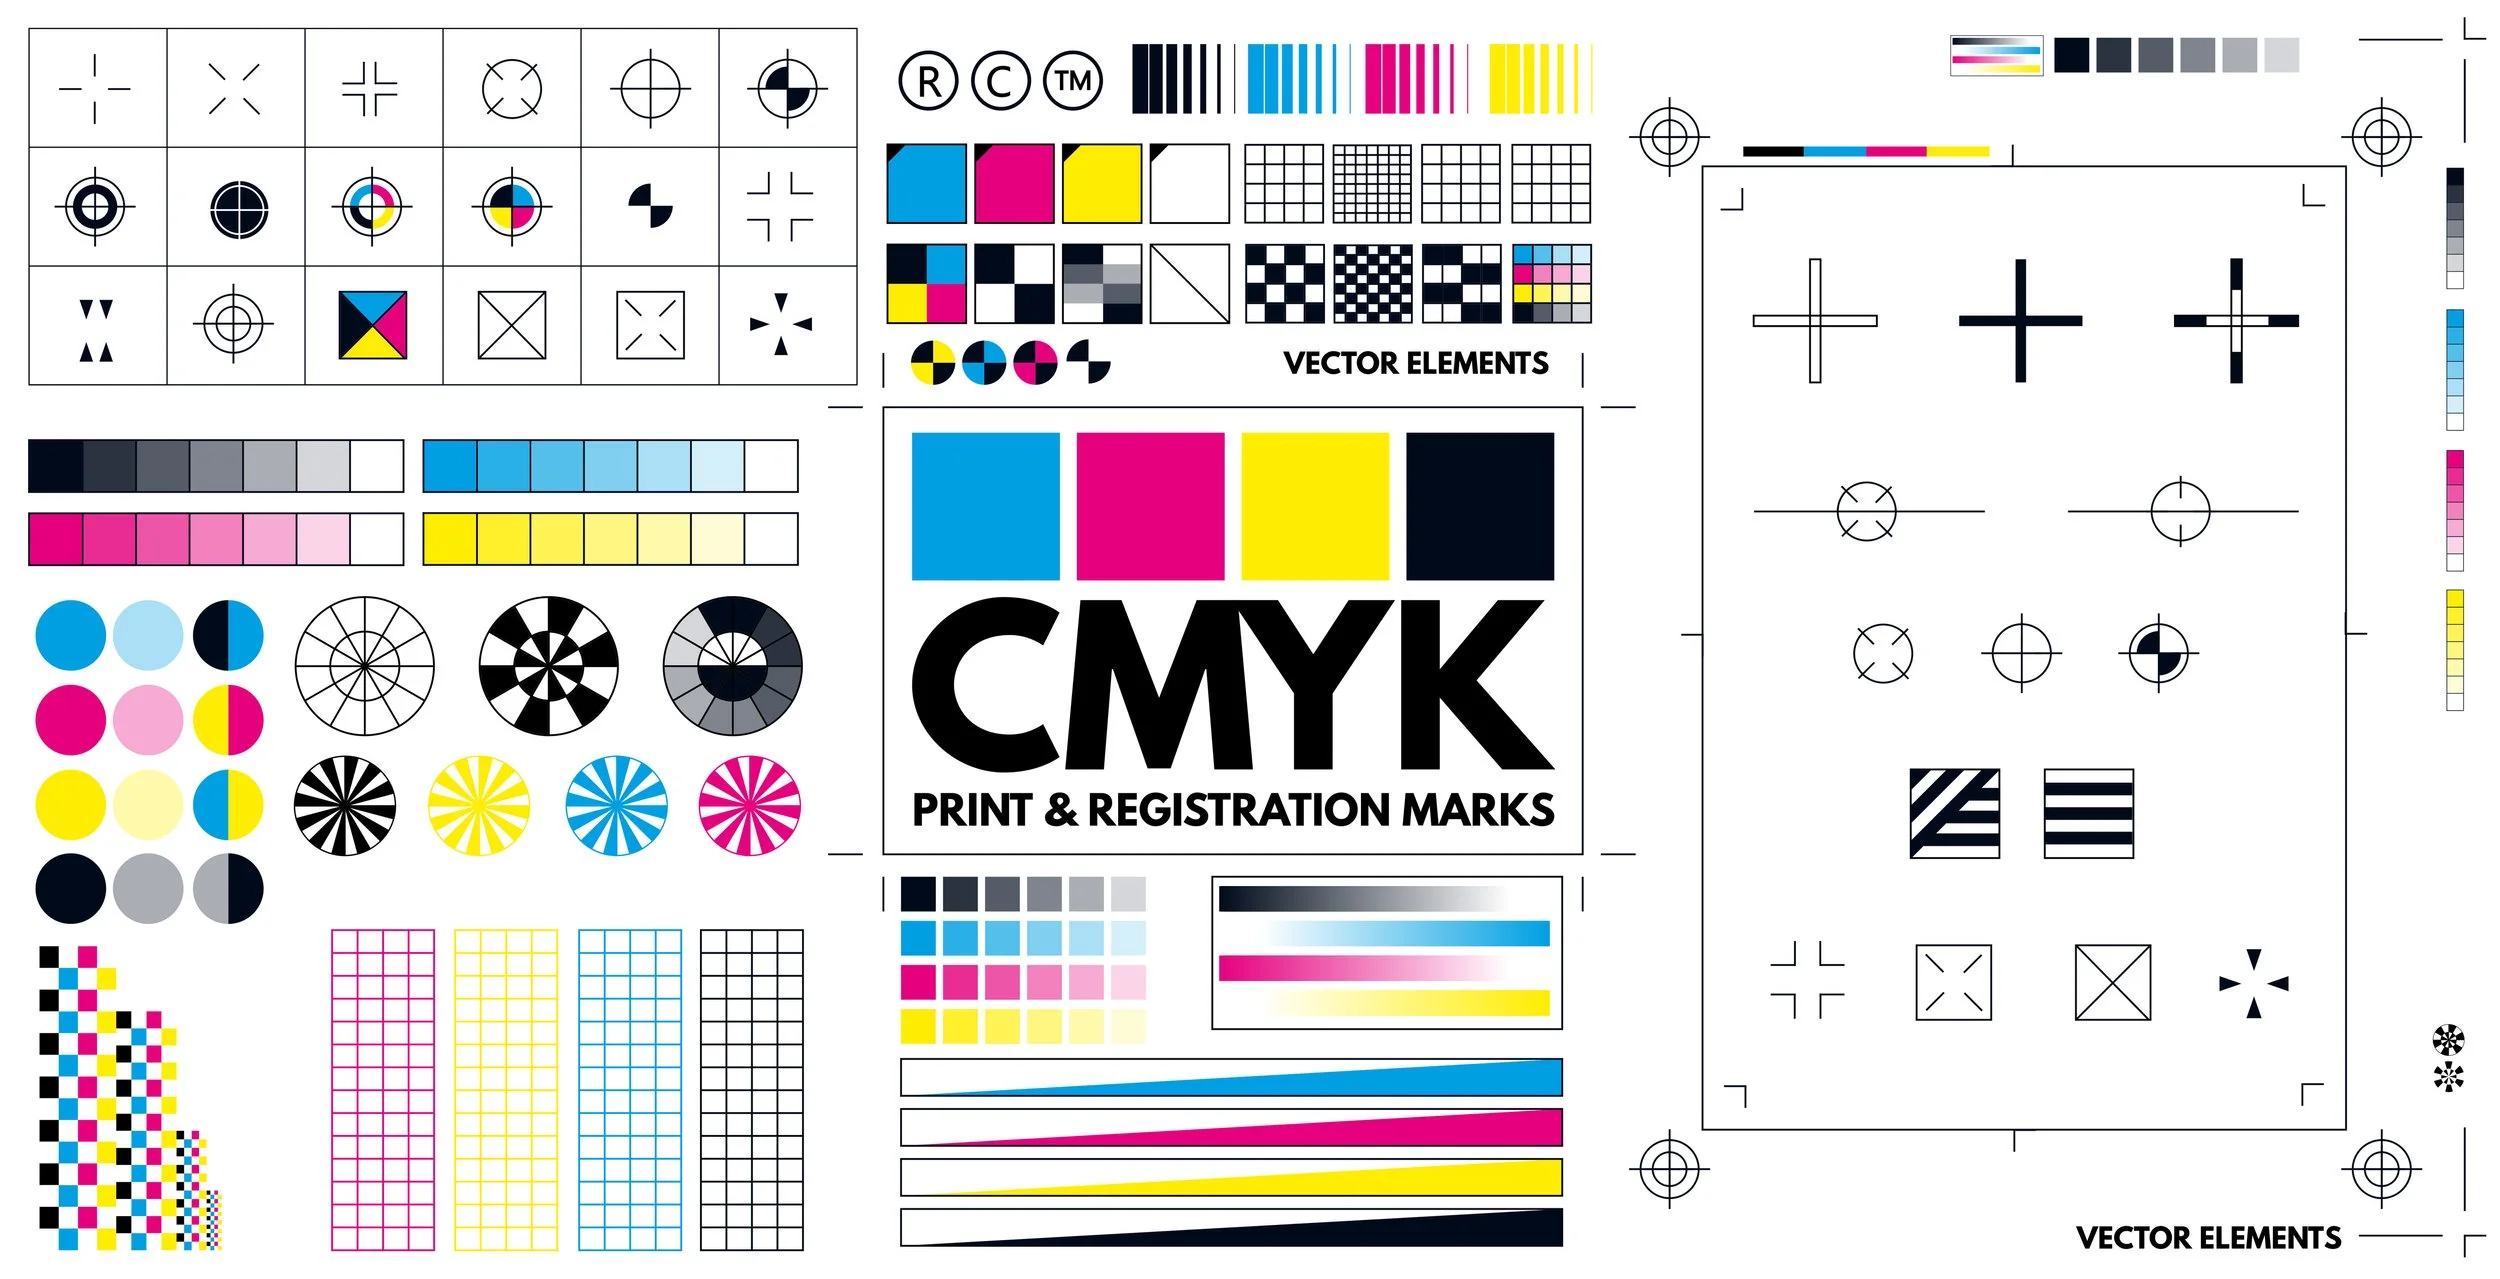
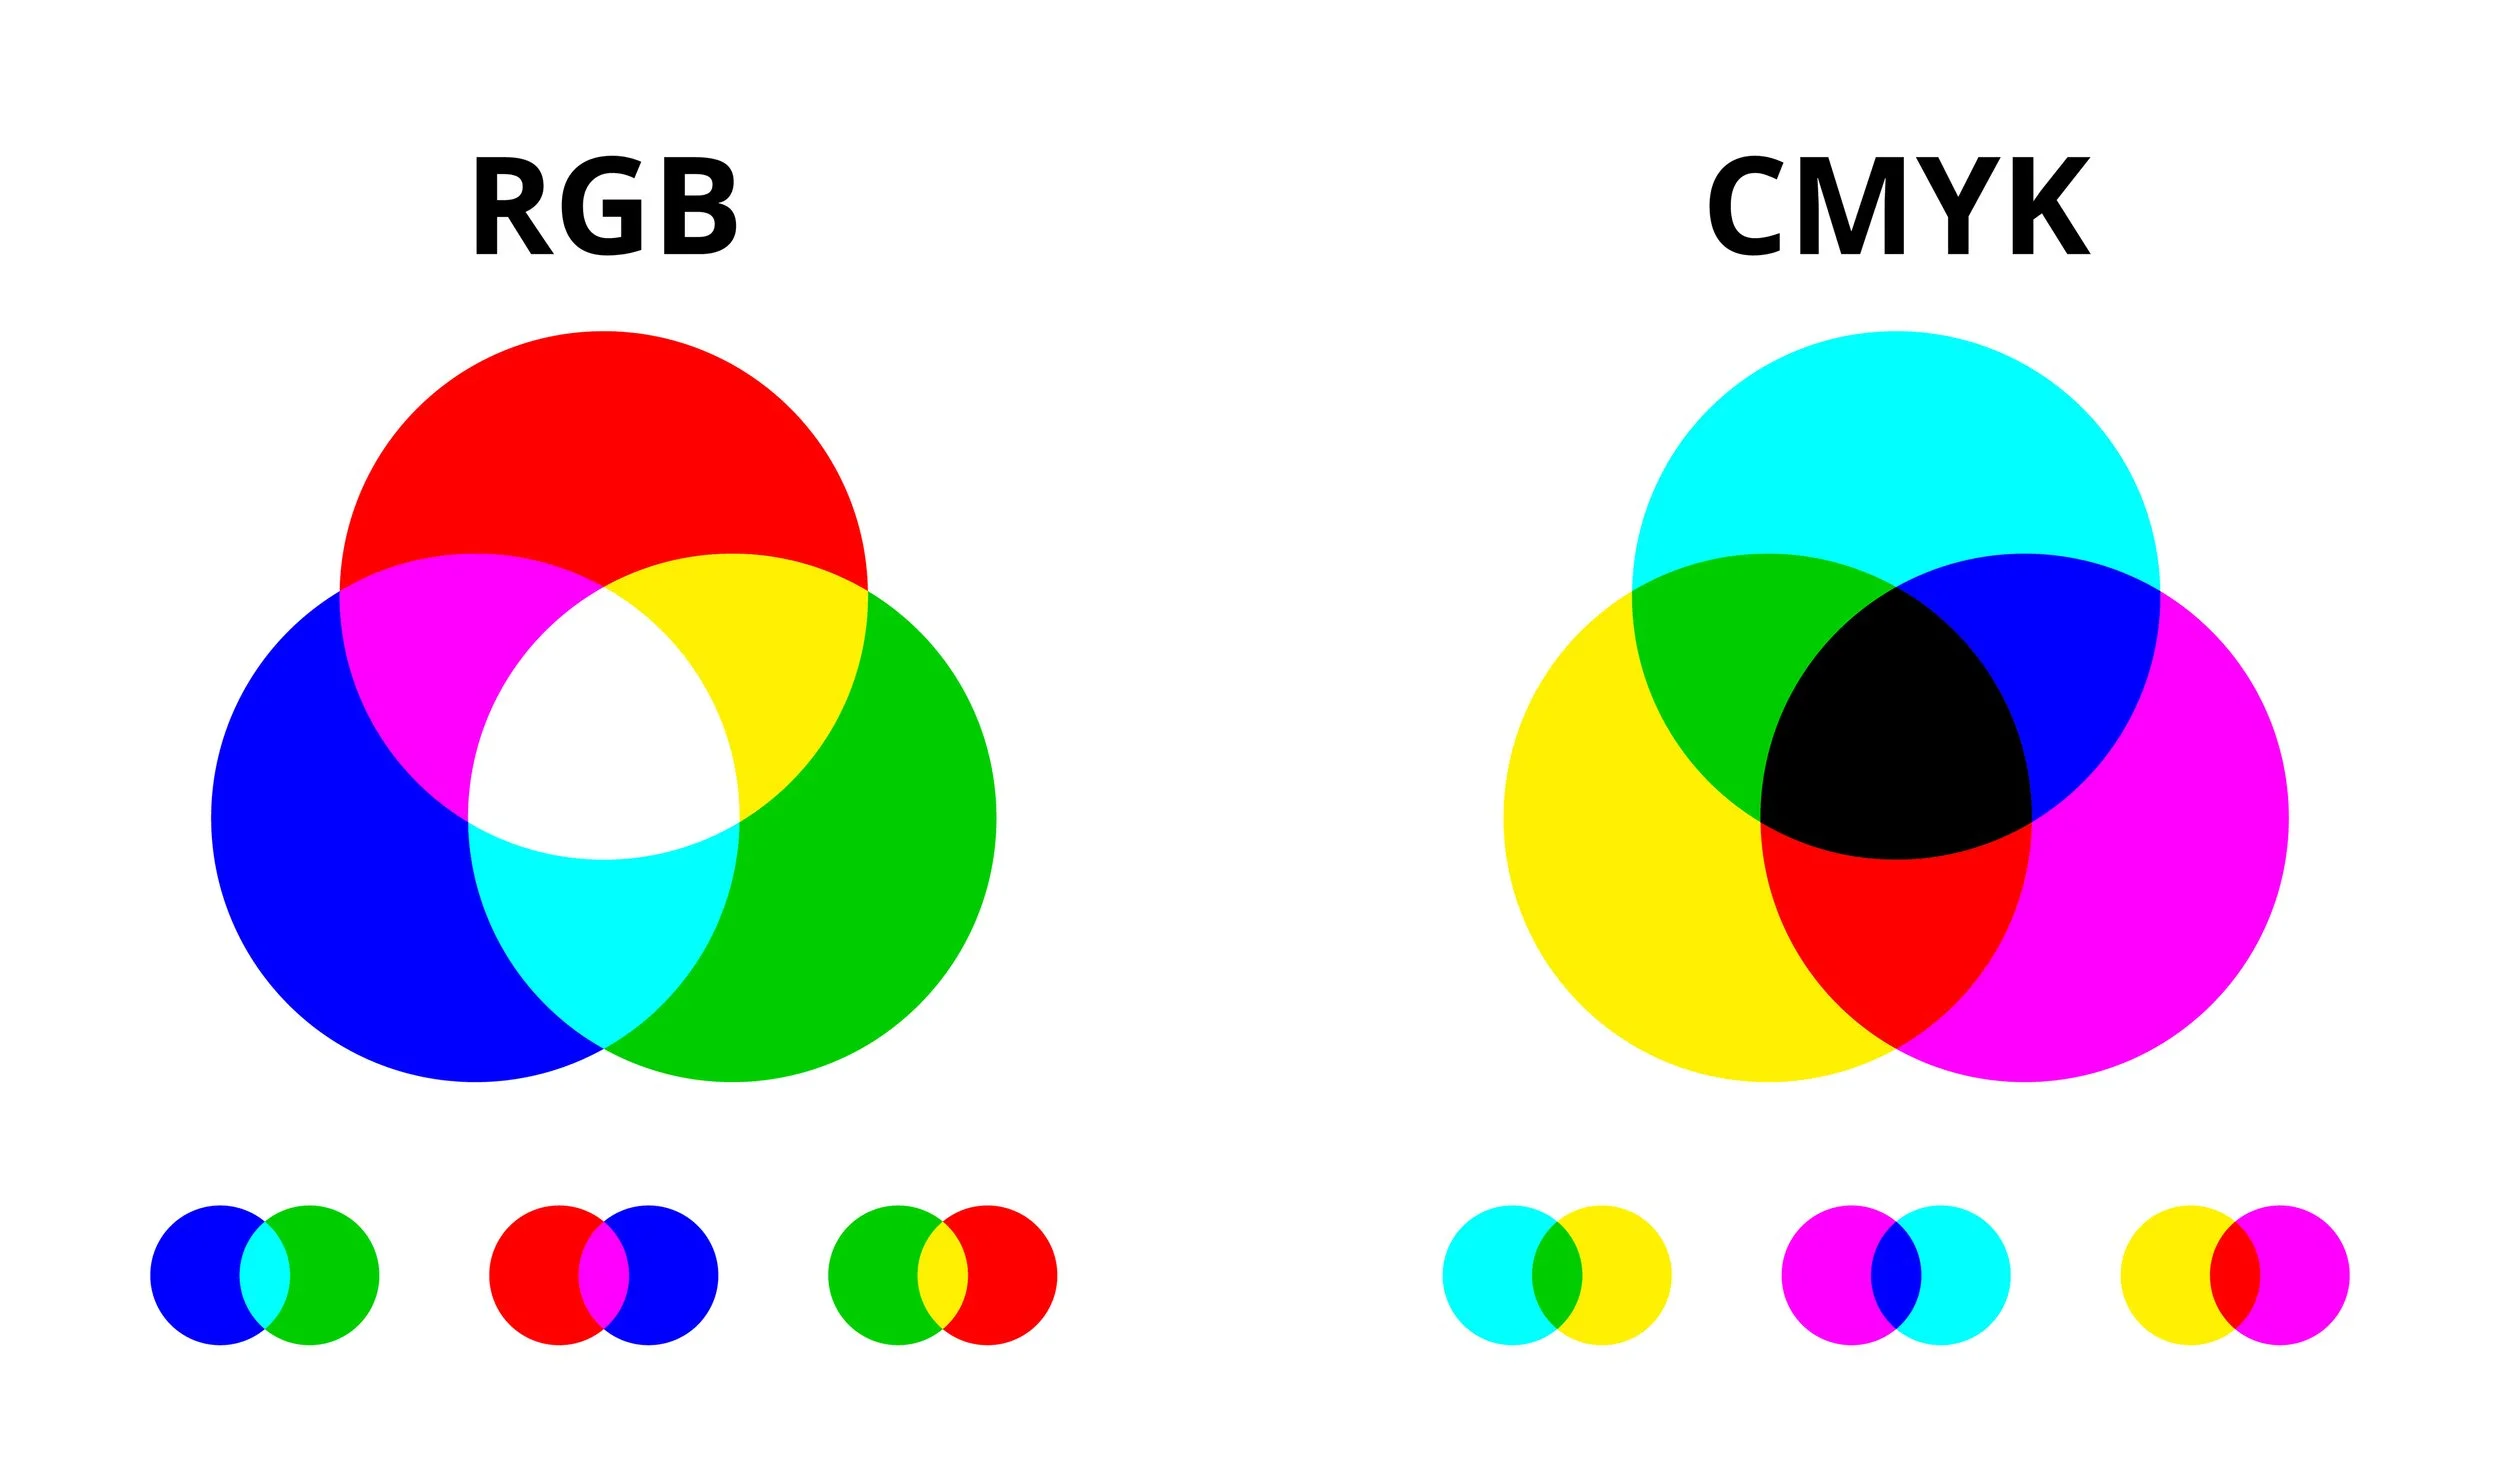
CMYK is King: Always design in a CMYK workspace to avoid unexpected shifts when converting from RGB.
BPD Automation: We utilise the GMG Colorserver and GMG Colorproof systems. These tools automatically adjust files for each specific printer in our facility, ensuring absolute consistency whether you're printing on an EFI Nozomi C1400 SD or a Ricoh Latex.
Spot Colors: If you have a specific Pantone reference, include it in the file. Our system will use it as a target for our high-end 12-color proofing machines.
4. Vectors, Fonts, and Transparencies
Outline Everything: To avoid font substitution errors, always convert your text to outlines (paths).
Vector over Raster: Use vector shapes (AI, EPS, or PDF) for logos and illustrations whenever possible. They can be scaled infinitely without any loss in quality.
Flattening: If your design uses complex transparencies or drop shadows, ensure you flatten them or export using PDF/X-4 to avoid "box" artifacts around transparent elements.
5. Leverage Automation for Brand Protection
Designers shouldn't have to work in a vacuum. We offer advanced tools to streamline your file setup:
Chili Publish: Our template-based system allows for automated artworking, generating multiple assets almost instantaneously from spreadsheet data.
Esko Webcenter: You can log in, make amends, and approve artwork online, with the files feeding directly into our Esko Automation Engine for pre-flighting.
Store Visualiser: Before you even hit print, use our 3D software to see a realistic representation of how your artwork looks in a retail environment.
Ready to see your designs in the real world?
Don't let technical hurdles slow down your campaign. Partner with BPD Group for an end-to-end solution that combines creative design expertise with the UK's most advanced print technology.